Every project with more than one user must have some authentication and authorization. These days, a quite handy and easy-to-use solution for user management comes in a project called KeyCloak. KeyCloak provides all necessary functionality like user registration, sign-in, and sign-in via Google, Facebook, and whatnot, all supporting modern standards like OICD.
KeyCloak is sponsored by Red Hat and is very well maintained. Regular updates and support for new technologies have been seen in recent years. KeyCloak could be a good choice for every company if it trusts open-source projects.
In this post, I describe how to install KeyCloak on a local machine for development purposes. The Version described here is Version 22.0.1.
Downloading and starting KeyCloak
KeyCloak comes in a zip or tar file and can be downloaded from here: https://www.keycloak.org/downloads
If you download the zip file, you can extract it wherever you want and start KeyCloak by:
> cd KeyCloak
> bin/bc.sh start-dev
Attention I tried it with the most recent version 22.0.1 and got an error. KeyCloak 21.1.1 works fine.
After start-up KeyCloak is reachable under the URL
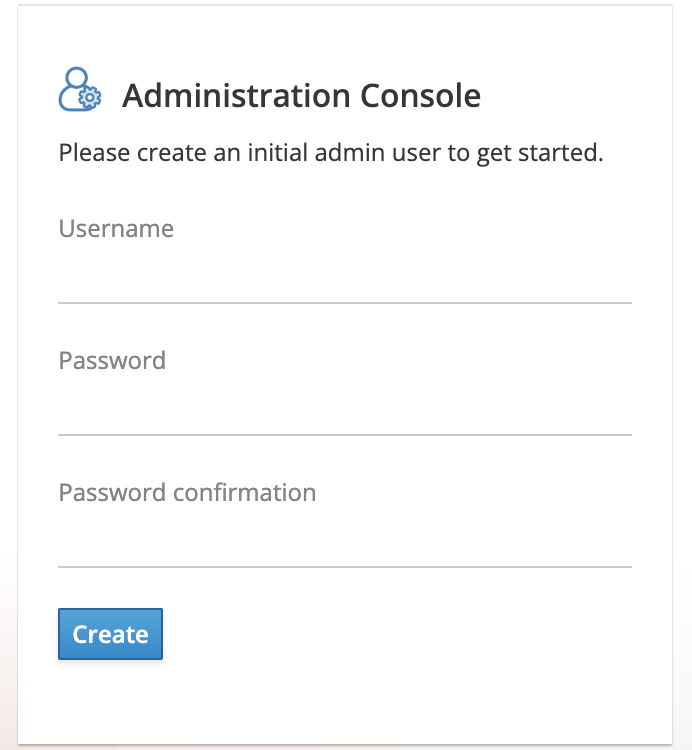
When you first visit this page, KeyCloak will ask you to set an administrator username and password:
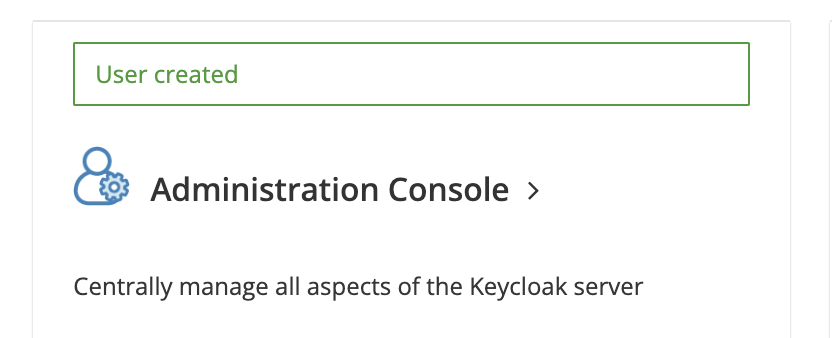
Enter the administrator’s username and password, and you will see the new Welcome screen:
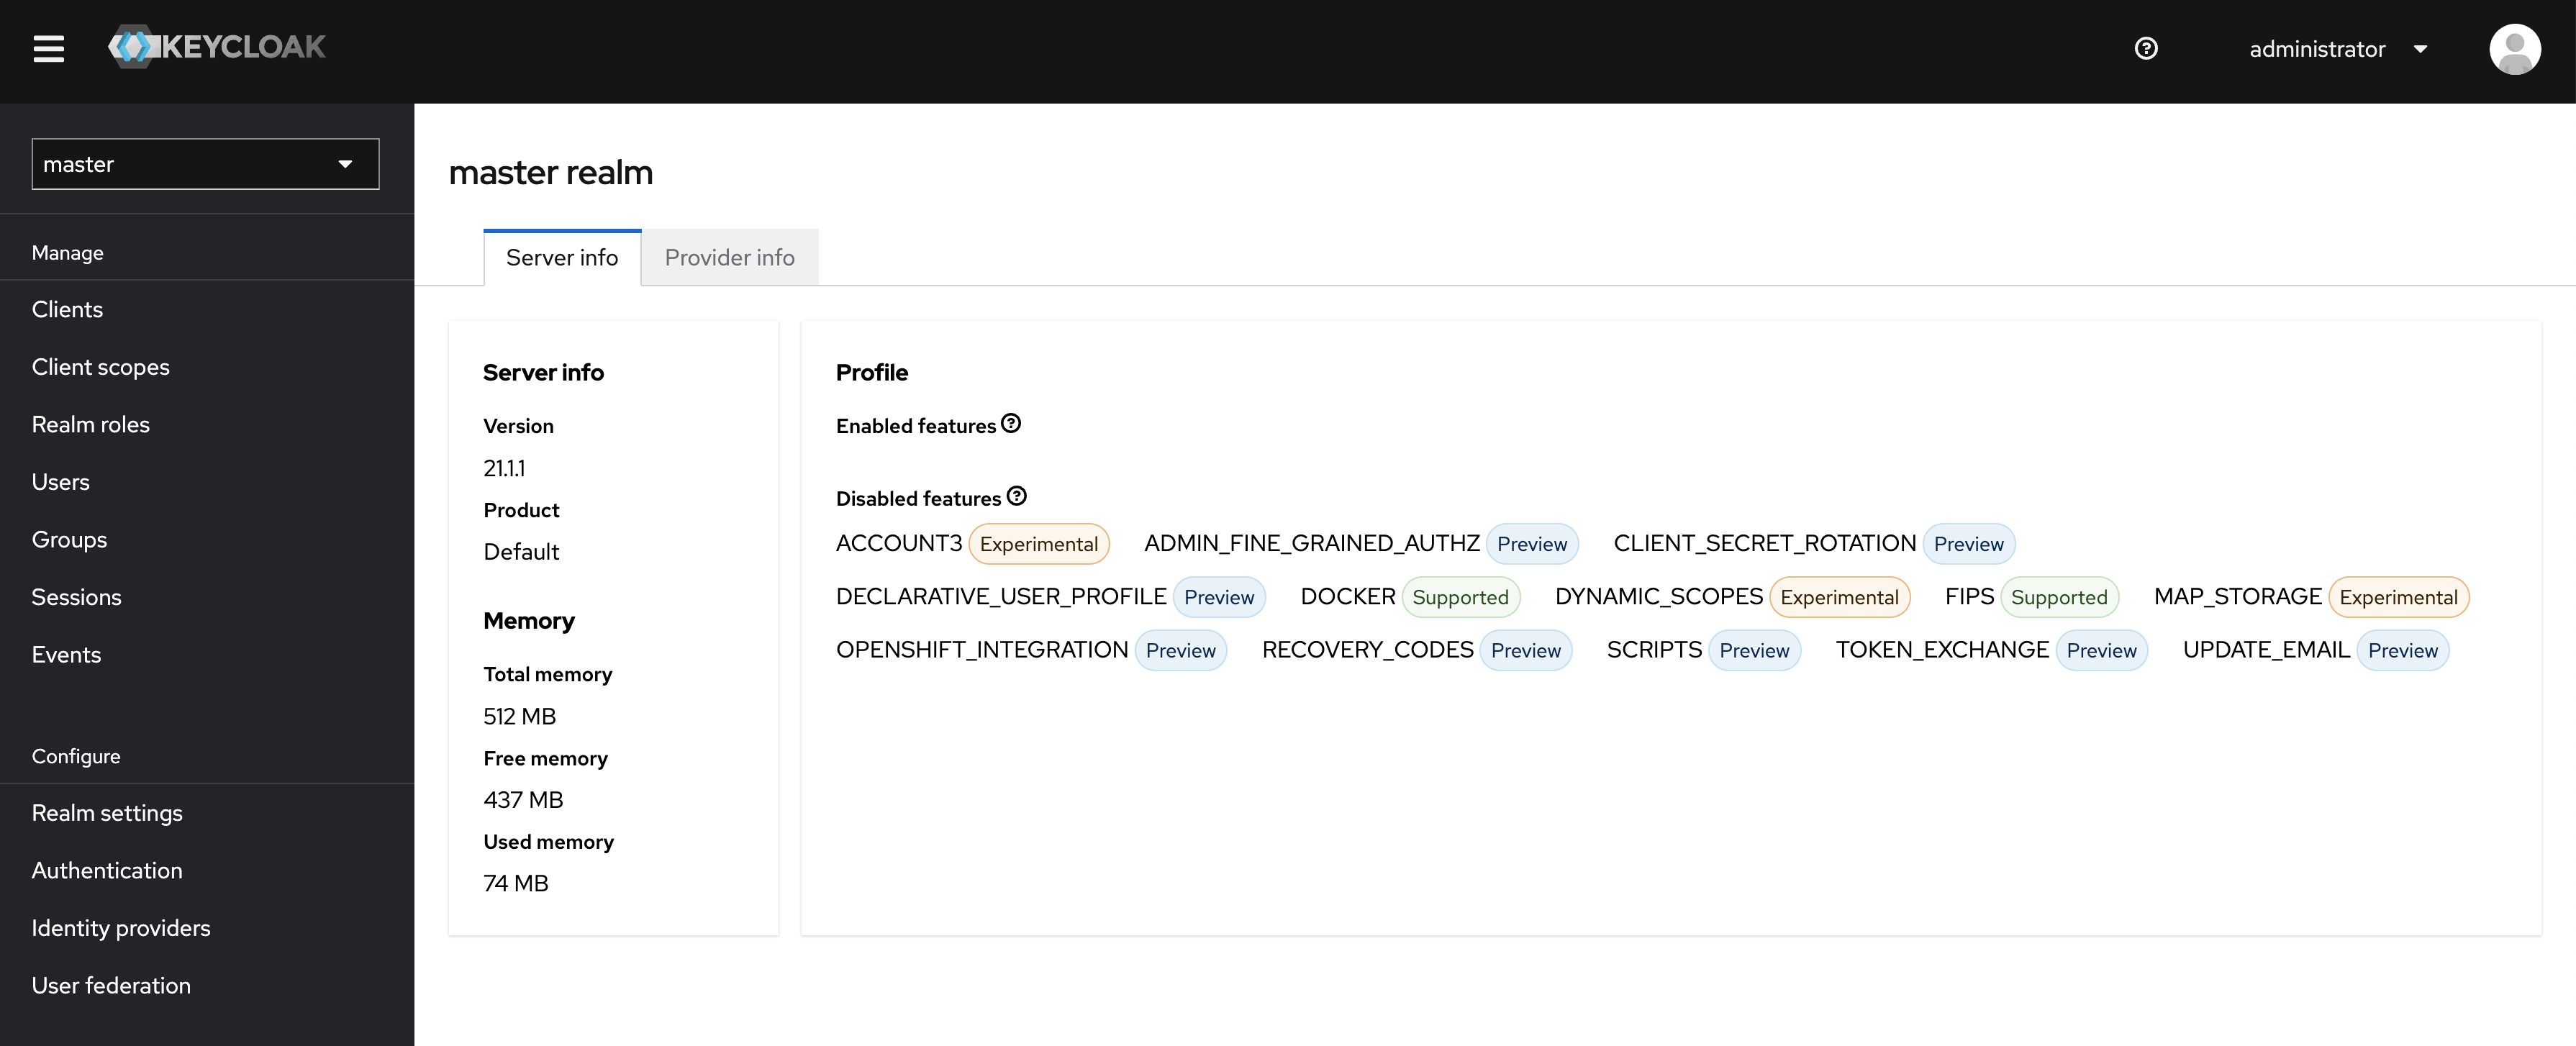
Now, you can navigate to the administrator console via the link. Enter
the credentials as specified above, and you will see the main page of KeyCloak:
YEP! That’s it. You set up a KeyCloak instance for your personal development.
What’s next
In the next posts, I will set up a realm for development. A Real is an area where users, roles, groups, and clients are managed.
After that, I will bring KeyCloak into a cloud environment with docker-compose, NgInx, and MariaDB.
Some Notes
- Do not use this setup method for production. For production, you have to do a lot more.
- I tried the new Version 22.0.1 of KeyCloak and got an error during the start procedure:
ERROR: Failed to run 'build' command.
ERROR: Name is too long
For more details run the same command passing the '--verbose' option. Also you can use '--help' to see the details about the usage of the particular command.
This error is still under investigation…
Let’s Talk About Your Project
Just send me a message!